It can be confusing to know how to tape down your clients lashes and what tape you should use because there are many types. We are here to be the older sister you never had, and make your life easier. We will teach you all the tips and tricks you need to be able to master different taping methods!
Styles of Tape:
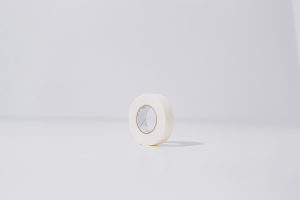
Paper tape: Learning how to use paper tape will help every lash artist greatly. It is perfect for covering the lower lashes and for isolation. This tape is gentle and won’t damage your skin and it easily peels off. If you are working in layers paper tape is for you. If you use it on layers, place the tape on the back of your hand then place it on the lash extensions.
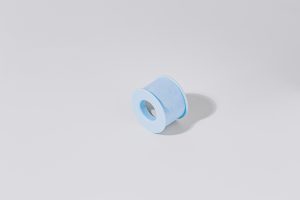
Sensitive skin Nexcare Tape: This tape is perfect for clients who have sensitive skin and also for mature clients who have thinner skin. It is water resistant, tears easily, and hypoallergenic. This tape can be used for under the eyes and for moving the eyelid to help with isolating.
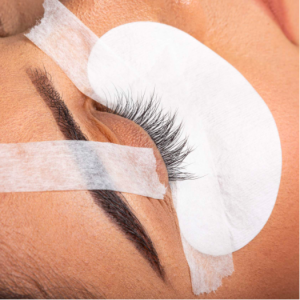
Taping Bottom Lashes Method:
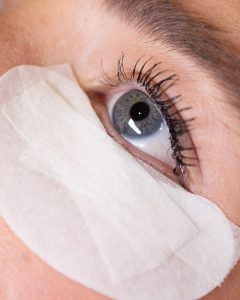
When taping down the bottom lashes you need to be very careful on where you are placing the tape. If it is too close to the water line it could rub up against the eye causing irritation and cut the eye. You also run the risk of causing a chemical burn on the eye if the client has a bad reaction. If the tape is too close to the water line then your clients eyes will most likely start to water. This could cause your glue to blanch or cause bad retention.
The tapes main purpose is to hold down any loose bottom lashes. Making sure you cover all bottom lashes will prevent any stickies. Those are never fun to remove after an appointment, especially when your client has sensitive eyes. The best way to apply to tape is to cross over each other in a X shape. If needed you can place a third piece of tape right over the middle. This all depends on your clients eye shape.
Taping for Isolation Methods:
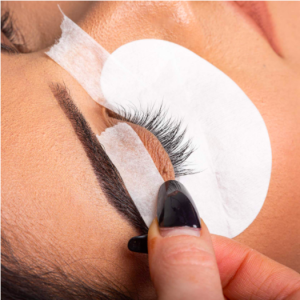
Tape is used to isolate lashes not covered by the Gel Patches, as well as lift the eyelids for a better view of the eyelashes. Tape provides easier access to the inner and outer corners for faster lashing.
In order to get to the inner lashes you will want to use the tape to pull the eyelid outward. Start by placing the tape at the inner corner, then pull gently. This will expose the lashes better.
The outer corners can be tricky because the lower lashes can become intertwined with the top lashes. Before you start lashing check to make sure no bottom lashes are sticking out.
Start by placing the tape at the outer corner, then pull towards the middle of the clients face and upward. Be gentle with how you pull so your clients eye isn’t open. If their eyes are open it could cause the fumes from the glue to get into your clients eyes.