Properly positioning each lash map to the client’s eye and brow shape can make all the difference. We want each and every lash client to feel the look they received has been customized to only them. Overall, we know that happier lash clients will likely lead to better client retention. Bella Lash’s education team has created lash outlines and instructions to help every lash artist master this technique in the simplest way possible.
Quick things to consider before lashing:
- When you have a new client come in, make sure you are paying attention to three important features on their face. These include the arch of the eyebrow, center of the pupil, and inner and outer edges of the iris.
- Each mapping you decide to use on your client needs to be placed in the correct position so the eye and face can be accentuated properly. Placing something in a strange way can accentuate a client’s face in the wrong way and make them look disproportional.
- No two eyes are the same. Everyone’s eye shape, pupils and iris are different and are placed differently. Depending on someone’s vision, (near sighted/far sighted) their iris and pupil can vary in size.
- The brow is very important. It decides the length of the extensions being used on the client as well as the proper placement of each section.
- Before beginning, decide which lash map will best fit and enhance the client’s natural beauty (natural eye, doll eye/open eye, cat eye, kitten, dramatic, and round).
Proper lash mapping:
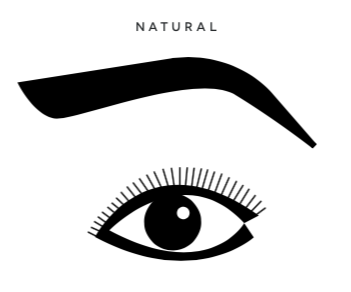
- Natural eye: The natural eye mapping will follow the natural growth of the clients lashes. This is a gradual change of shape with no dramatic jumps in length. (8-9-10-11-10-9). The second longest length should start at the center of the pupil. the longest section should be placed from the outer edge of the iris to the arch of the brow, then gradually drop down in length on the outer corners. (This is for anyone that wants a natural look or upturned eyes).
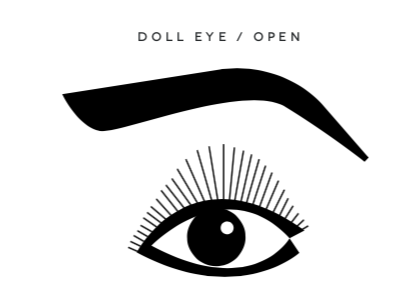
- Doll/open eye: The longest parts of this map are over the whole iris of the eye (using straight lines), then dropping down dramatically on the inner and outer corners. This map is great for close set eyes or monolid clients.
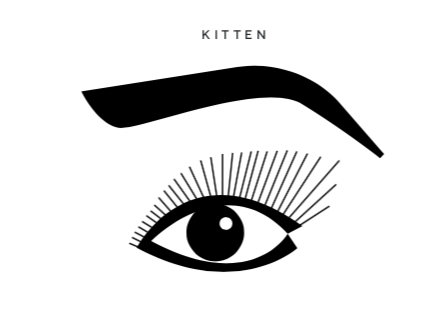
- Kitten Stay shorter in length until you reach the pupil/center of the eye. Then, drastically jump up in length until you reach the outer 3-5 mm of the eyelid. Then, drop down dramatically in length. (Great for downturn, droopy eyed clients)
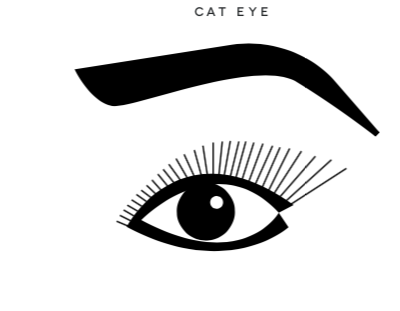
- Cat eye Stay shorter in length until you reach the pupil then drastically jump up in length from the center of eye until outer corner. (great for close set eyes)
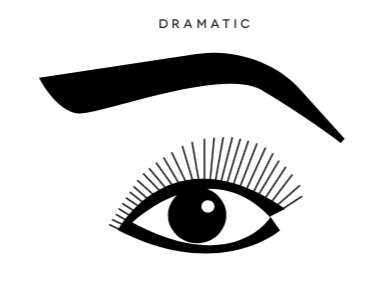
- Dramatic Longest length is positioned under the arch of the brow (great for downturned eyes).
For more tips and tricks on mapping out eyelash extensions, watch our director of education explain it with diagrams here. Leave a comment below with any tips of tricks you would like to share or questions that you need answered to be successful. Bella Lash is here to help!